- Replacing an old bathroom exhaust fan during a remodel is easier and less stressful, thanks to open access to the ceiling, wiring, and ducting.
- Decide whether to replace just the motor and fan assembly or the entire fan unit, depending on the housing’s condition.
- Inspect existing wiring and ducting carefully to fix issues and ensure safe, efficient airflow before installing the new fan.
- Properly size the new fan (CFM) and choose a quiet model (sones) to improve moisture control, comfort, and energy efficiency.
- Plan duct runs to be short and straight, install a backdraft damper, and seal all joints to prevent leaks and drafts.
- Allow clearance for future maintenance to make cleaning and motor replacement easier down the line.
- Regular maintenance—including cleaning the grille, inspecting ducts, and listening for unusual noises—prolongs fan life and prevents moisture damage.
Your bathroom remodel is almost complete: sparkling new tiles, updated fixtures, and modern lighting are transforming the space. But the old exhaust fan—probably noisy, underpowered, or outdated—can undermine all your hard work. If it barely clears steam, rattles loudly, or shows signs of wear, now is the perfect time to replace it. Doing so during a remodel gives you easy access to the ceiling cavity, ducting, and wiring, making it simpler to remove the old unit, check and repair existing systems, properly size the new fan, and troubleshoot common installation issues. This guide focuses on homeowners upgrading or replacing an exhaust fan, ensuring your remodeled bathroom stays dry, quiet, and comfortable.
Why Replace an Existing Bathroom Exhaust Fan?
If your current fan is more than a decade old, struggles to remove moisture, or creates a constant buzz, replacing it is worth considering. Here are the key reasons:
- Improved Moisture Management: Older fans may not be sized correctly for your bathroom, leaving walls and ceilings damp.
- Noise Reduction: Many older fans are loud; modern models operate quietly, improving your comfort.
- Energy Efficiency: Newer fans consume less electricity while moving the same or more air.
- Advanced Controls: Modern fans may have humidity sensors, timers, or motion activation, which older models often lack.
- Avoid Costly Damage: Proper ventilation prevents mold, mildew, and structural damage in the long term.
Replacing a fan during a remodel is far easier than retrofitting into a finished bathroom. You can access the ceiling cavity, inspect the ducting, and ensure electrical connections meet code.
How to Replace a Bathroom Exhaust Fan Step by Step
Replacing an old bathroom exhaust fan can be straightforward if you follow the right steps. Depending on your situation, you may choose to replace just the motor and fan assembly or the entire fan unit.
Option 1: Replace Only the Motor and Fan Assembly
If the fan housing is still in good condition, you can often replace just the motor and fan:
- Turn Off Power: Always start by switching off the circuit at the breaker and verifying with a voltage tester that the wires are not live.
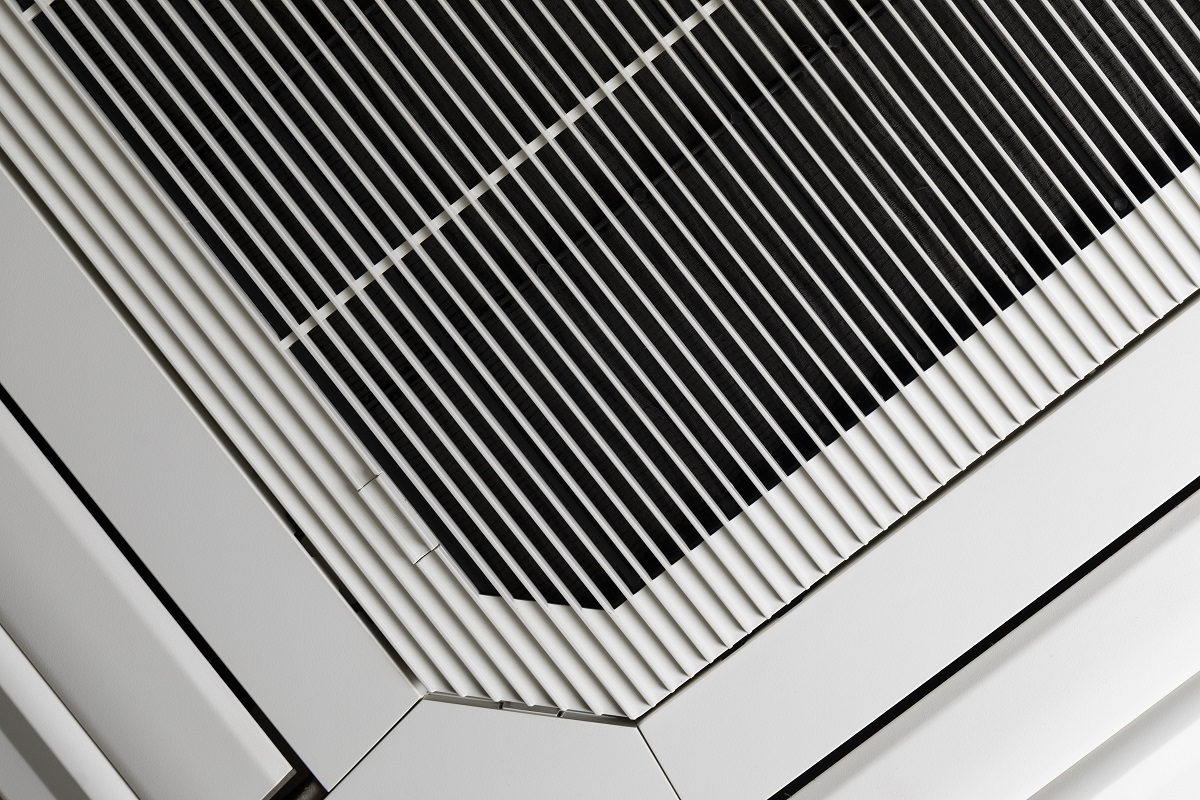
- Remove the Cover: Most fan grilles are secured with spring clips or screws. Carefully detach the cover.
- Disconnect the Motor: Unplug the old motor and remove the fan assembly from the housing.
- Install the New Motor and Fan: Slip the replacement motor and fan assembly into the housing and connect it to the power supply.
- Test the Fan: Restore power and run the fan to ensure smooth operation and adequate airflow.
- Reattach the Cover: Clip or screw the grille back in place. Check that it fits snugly and directs airflow efficiently.
This method is faster and less expensive, but it only works if the existing housing is structurally sound.
Option 2: Replace the Entire Fan Unit
If the fan housing is damaged, outdated, or incompatible with your new fan, replacing the entire unit may be necessary:
- Turn Off Power: Switch off the circuit at the breaker and double-check that the wires are dead.
- Remove the Old Unit: Detach the fan grille, disconnect electrical wiring, and remove the ducting from the fan housing. Unscrew the housing from the ceiling joists and carefully remove it.
- Inspect Wiring and Ducting: Take this opportunity to check for frayed wires, damaged insulation, or improperly routed ducts. Replace or repair as needed.
- Prepare the New Fan Housing: Position the new housing in the ceiling cutout and secure it to ceiling joists using screws. Ensure the unit is level and stable.
- Connect Electrical Wiring: Match black to black (hot), white to white (neutral), and ground wires to ground. Push-in connectors or wire nuts can be used, following manufacturer instructions.
- Attach Ducting: Connect the vent duct to the new fan outlet and seal the joint with foil tape to prevent leaks. A backdraft damper can be installed at the exterior vent for added efficiency.
- Install Motor and Fan Assembly: Insert the new motor and fan into the housing and plug it in.
- Seal Edges: Apply caulk around the housing edges to prevent air leakage between the bathroom and attic.
- Attach the Cover: Position the grille using spring clips or screws so it sits flush with the ceiling.
- Test the Fan: Turn on the circuit and check for smooth operation, quiet performance, and strong airflow.
Tips for a Successful Replacement
- Choose the Right Fan: Pay attention to airflow (CFM) and noise level (sones) to ensure effective and comfortable ventilation. If you’re unsure about placement or ducting, reviewing how to install a bathroom exhaust fan can provide helpful guidance for a smooth replacement.
- Inspect Structural Integrity: Make sure the ceiling cavity and joists are in good condition before securing the new unit.
- Plan Duct Runs: Shorter, straighter ducts improve airflow and reduce noise. Avoid venting into attics or soffits.
- Allow Access for Future Maintenance: Leave enough clearance around the housing for cleaning or motor replacement in the future.
Maintenance Tips After Replacement
A new fan will perform optimally if maintained properly:
- Clean the grille every 3–6 months.
- Inspect ducting annually for blockages or leaks.
- Listen for unusual motor noises or vibration.
- Replace fans every 10–15 years or when efficiency drops.
Regular maintenance prevents mold, prolongs fan life, and keeps your bathroom comfortable.
Wrapping Up
Replacing a bathroom exhaust fan during a remodel is more than just swapping hardware—it’s an opportunity to improve airflow, reduce noise, and update your bathroom’s ventilation system for years to come.
By safely removing the old fan, inspecting and repairing wiring and ducting, selecting the right replacement, and following a step-by-step installation, you can avoid common issues like poor ventilation, moisture buildup, or rattling noise. Proper placement, careful duct planning, and attention to electrical connections ensure the fan operates efficiently, while regular maintenance keeps it performing at its best.
With these steps, your remodel not only looks great but also functions optimally, protecting your bathroom from moisture damage and keeping it fresh and comfortable.